How to Build a Gaming PC
Complete step-by-step assembly guide
 Sarah Kim Updated 2025-12-05 120 min 10 steps
Build your dream gaming PC from scratch. This guide covers component selection, assembly, cable management, and first boot.
120 min
Time Required
$800 – $2,000
Estimated Cost
10
Steps
medium
Safety
What You'll Need
Tools
Materials
Step 1 of 10
Plan Your Build
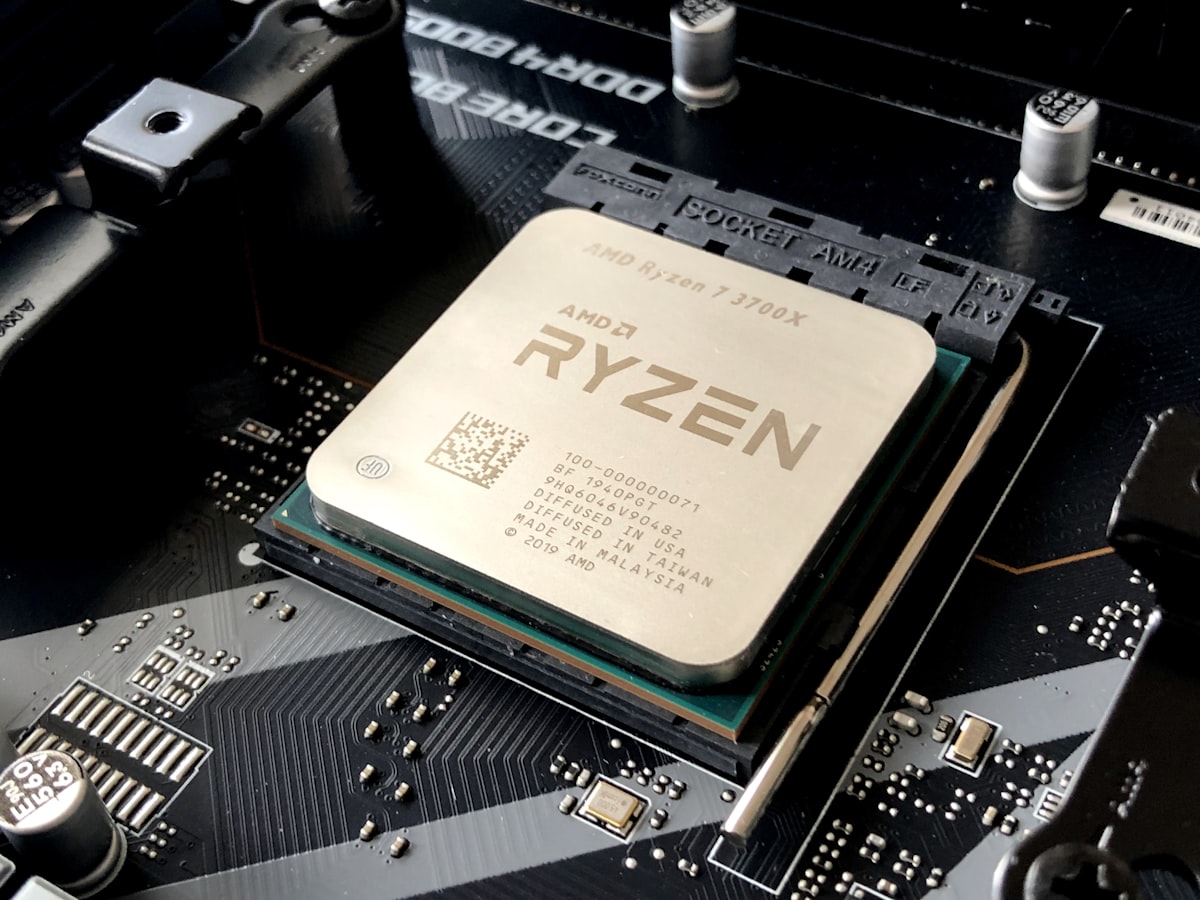
Research component compatibility using PCPartPicker. Set a budget and allocate roughly: 30% GPU, 15% CPU, 10% RAM, 10% motherboard, 10% storage, 10% PSU, 10% case, 5% cooling. Make sure your CPU and motherboard socket match.
Tip
Watch compatibility videos for your specific parts before purchasing.
Step 2 of 10
Install the CPU
Open the CPU socket lever on the motherboard. Align the golden triangle on the CPU with the triangle marking on the socket. Gently place the CPU — it should drop in with zero force. Close the lever. This requires some pressure but should never need force.
Warning
NEVER force a CPU into the socket. Bent pins mean a ruined processor.
Step 3 of 10
Install the CPU Cooler
Apply a pea-sized dot of thermal paste to the center of the CPU (if your cooler doesn't have pre-applied paste). Mount the cooler according to its instructions. Connect the fan header to CPU_FAN on the motherboard.
Common Mistake
Using too much thermal paste — a small pea-sized amount is all you need. More actually insulates rather than conducts heat.
Step 4 of 10
Install RAM

Open the retention clips on the RAM slots. For dual-channel (2 sticks in 4 slots), use slots 2 and 4 (consult your manual). Align the notch and press firmly until clips snap in. You'll hear a click.
Step 5 of 10
Install M.2 SSD
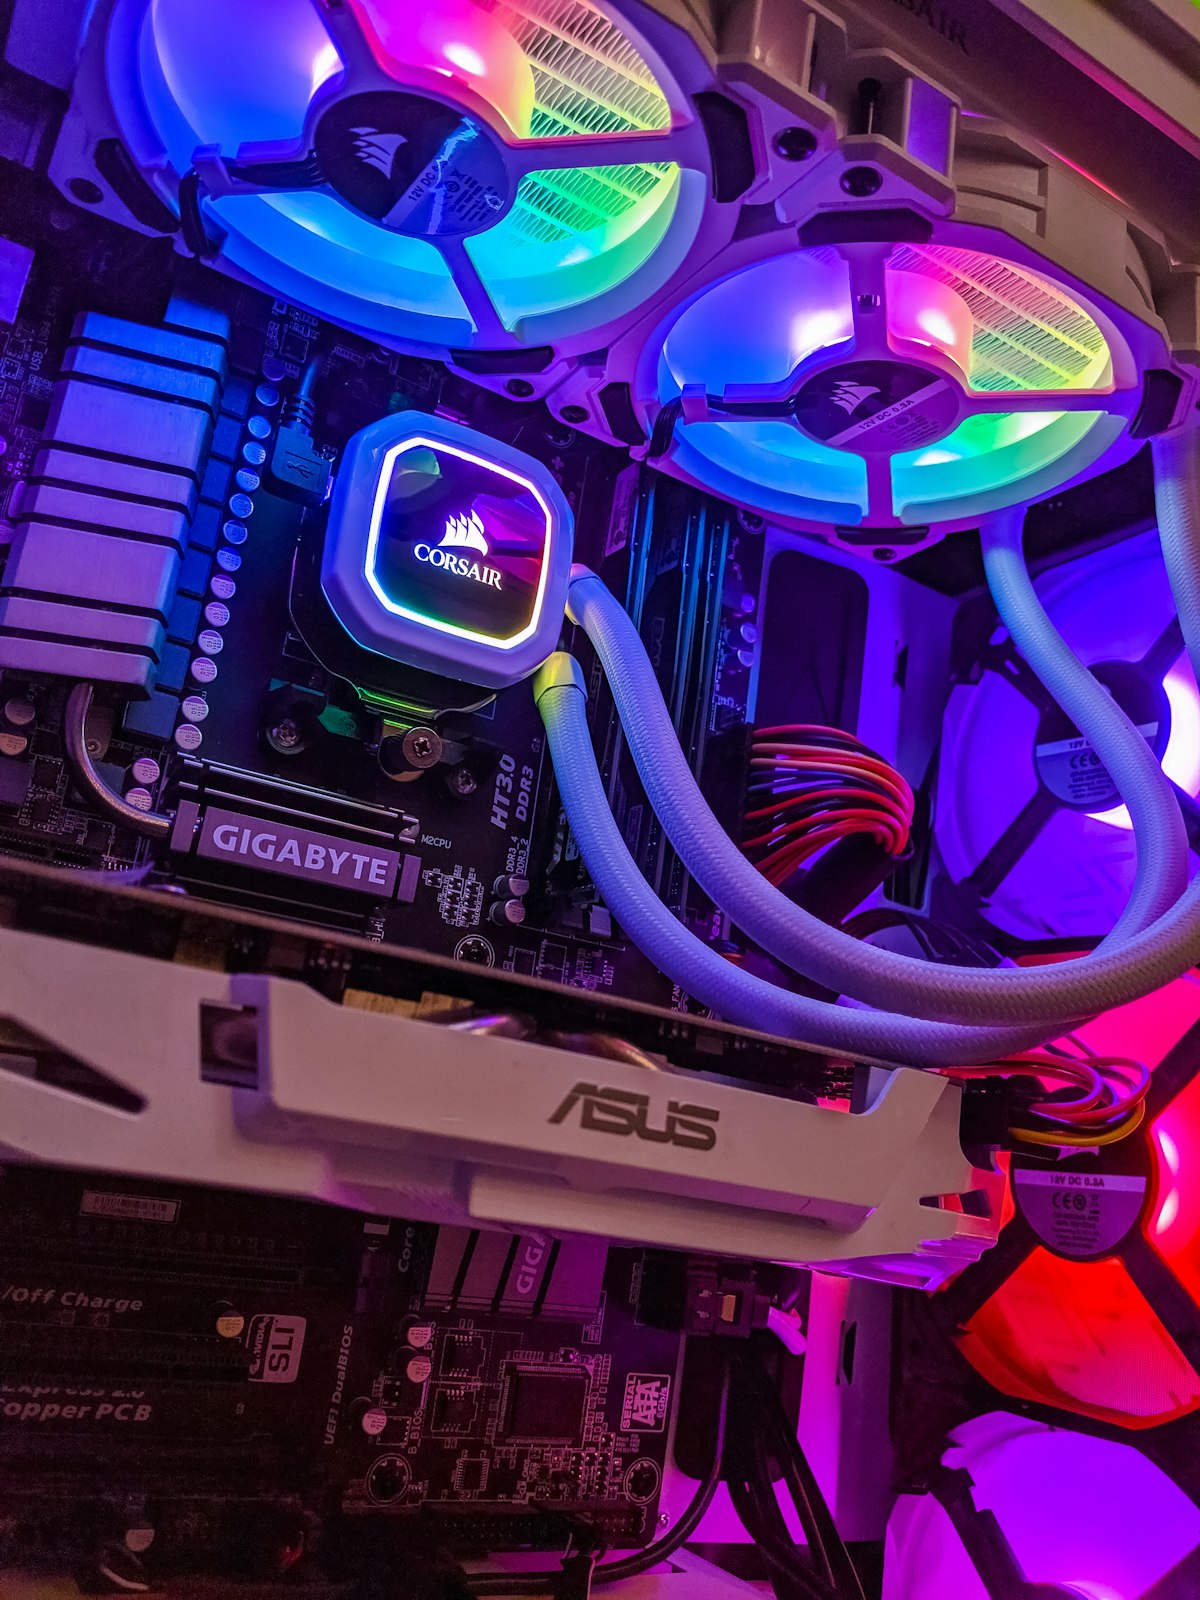
If using an M.2 NVMe SSD, install it now while the motherboard is easily accessible. Remove the M.2 heatsink (if present), insert the drive at an angle, press down, and secure with the screw.
Step 6 of 10
Mount Motherboard in Case
Install the I/O shield in the case (if separate). Place the motherboard on the standoffs — align with screw holes. Secure with screws, tightening in a star pattern. Don't overtighten.
Pro Tip
Install the I/O shield BEFORE the motherboard. Forgetting it means removing everything.
Step 7 of 10
Install the Power Supply
Mount the PSU in its bay (usually bottom-rear). Route the main 24-pin, CPU 8-pin, and PCIe cables through cable management holes. Don't connect them yet — just plan the routing.
Tip
Modular PSUs let you connect only the cables you need, improving airflow and aesthetics.
Step 8 of 10
Install the GPU
Remove the appropriate PCIe slot covers from the case. Insert the GPU into the top PCIe x16 slot until it clicks. Secure with screws. Connect the PCIe power cables from the PSU.
Warning
High-end GPUs are heavy. Consider a GPU support bracket to prevent sagging.
Step 9 of 10
Connect All Cables
Connect: 24-pin ATX power to motherboard, 8-pin CPU power (top-left), front panel headers (power button, USB, audio), case fans, SATA drives if any. Use cable ties for clean management.
Common Mistake
Forgetting the CPU power cable. The system will turn on but won't POST without it.
Step 10 of 10
First Boot and Setup
Double-check all connections. Plug in monitor, keyboard, and power. Press the power button. Enter BIOS and verify all components are detected. Install your operating system from USB. Install drivers for GPU, motherboard, and peripherals.
Pro Tip
Update your BIOS to the latest version for best compatibility and performance.