How to Build a Workbench
A sturdy bench for your workshop
 Mike Rodriguez Updated 2025-09-10 240 min 8 steps
Build a solid, functional workbench that will last for years. This beginner-friendly project uses basic lumber and common tools.
240 min
Time Required
$150 – $250
Estimated Cost
8
Steps
medium
Safety
What You'll Need
Tools
Materials
Step 1 of 8
Cut the Lumber
Cut 4 legs at 34½", 4 long stretchers at 48", 4 short stretchers at 21", and 2 top supports at 21". Cut the plywood top to 48" x 24". A miter saw makes this faster and more accurate.
Tip
The standard workbench height is 34-36". Adjust leg length to match your height.
Step 2 of 8
Assemble the Legs
Attach two short stretchers between each pair of legs using wood glue and 3" screws. Use a speed square to ensure 90° angles. You'll have two identical H-shaped leg assemblies.
Step 3 of 8
Connect the Frame
Connect the two leg assemblies using the four long stretchers. Two go along the top, two near the bottom. This creates the basic table frame. Check for square and level.
Step 4 of 8
Add Top Supports
Attach the two top support pieces across the long stretchers for additional surface support. Space them evenly. These prevent the plywood top from sagging under heavy loads.
Step 5 of 8
Attach the Top
Apply wood glue to the top of the frame. Place the plywood top and secure with 2½" screws from underneath (to keep the surface smooth). Alternatively, screw from the top if you plan to replace the top eventually.
Step 6 of 8
Sand and Finish
Sand the entire bench with 120-grit, then 220-grit sandpaper. Round over sharp edges with sandpaper. Apply polyurethane or Danish oil for protection.
Warning
Wear a dust mask and safety glasses when sanding.
Step 7 of 8
Add a Vise (Optional)
Mount a woodworking vise to one end of the bench. This is the most useful accessory you can add. Position it flush with the top surface.
Step 8 of 8
Accessorize
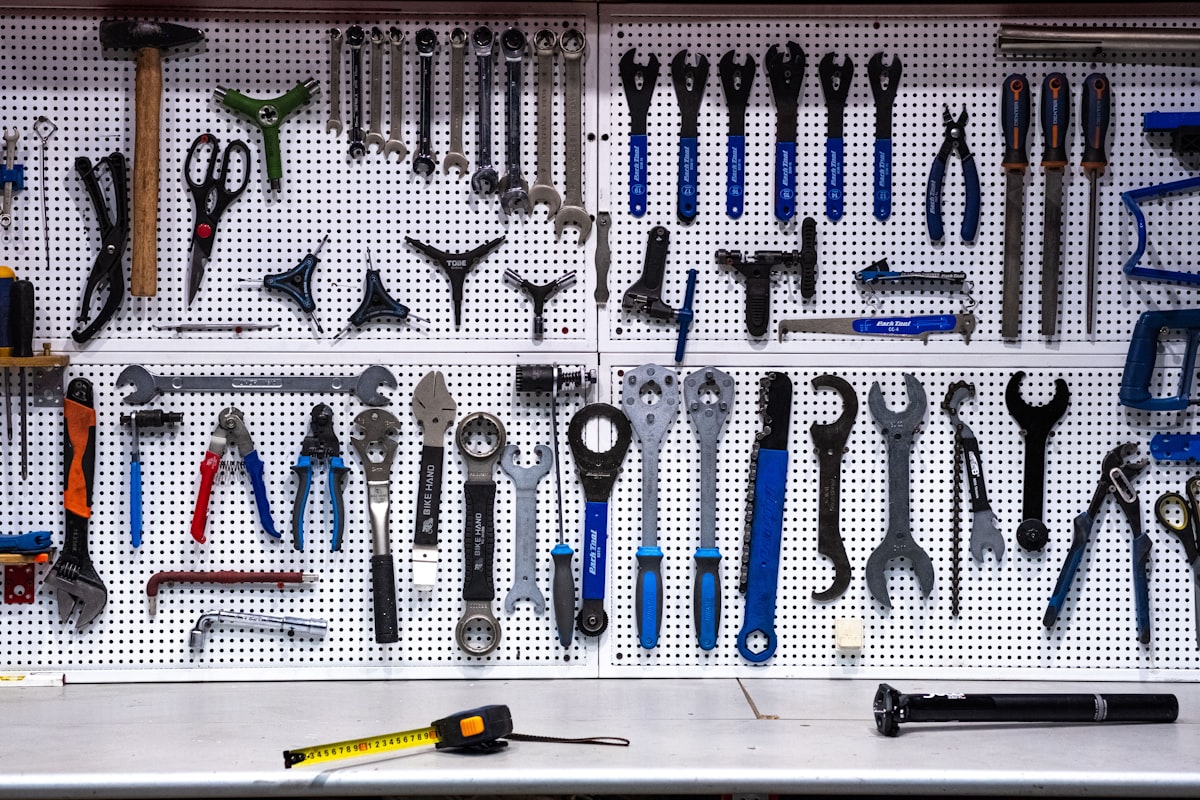
Add pegboard above for tool storage, a shelf underneath for power tools, and hooks for extension cords. Your workbench is now a complete workstation.
Pro Tip
Position your bench near an electrical outlet and good lighting for the best workflow.